How to list your business on the GoGood Map Guide
Create a business profile and publish your first listing, from claiming an existing entry through to submitting for review.
Step 1: Check whether your business is already listed
Browse or search the GoGood Map Guide in claim mode to see if your business or experience is already there. If you find it, fill out the short claim form and we will review it and transfer the listing to you so you can edit it.
If it is not listed yet, carry on with the steps below to create it.
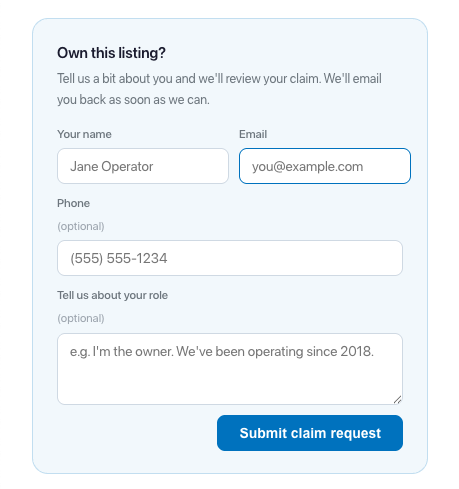
The claim form asks for your name, email, and a line about your role. Step 2: Choose your business type
Go to GoGood Travel — Get Listed and pick the category that fits your business.
If more than one applies, choose the primary one. You can add more categories later.
Artisans: choose either Shops & Markets or Events & Shows, depending on how travelers usually meet you.
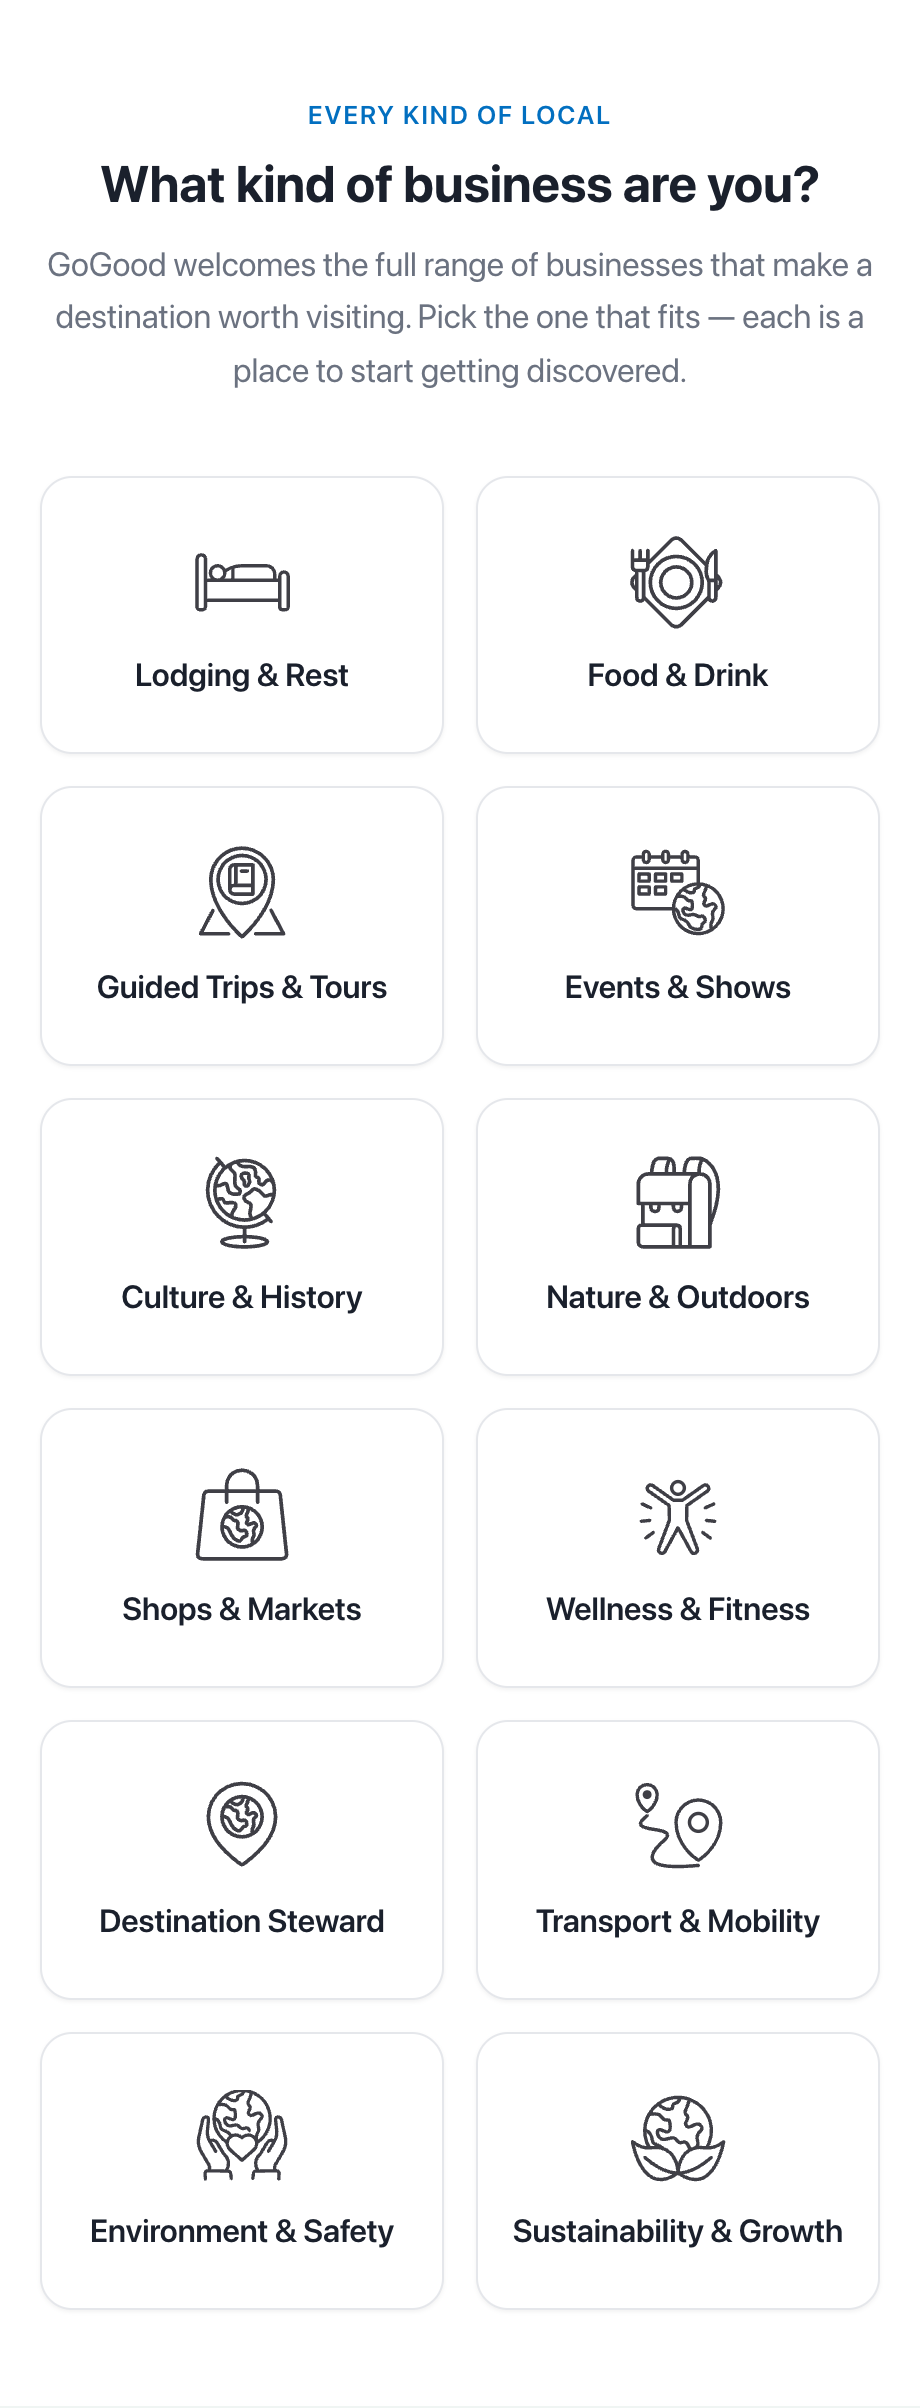
Twelve categories. Pick the closest one — you are not locked in. Step 3: Enter your details and agree to the Stewardship Pledge
Fill in your contact and basic business information, read the Stewardship Pledge, tick the box to agree, then click Create Account & Register.
The pledge is six commitments about respecting the place, reducing your footprint, being honest with travelers, supporting the local economy, welcoming everyone, and continuing to improve.
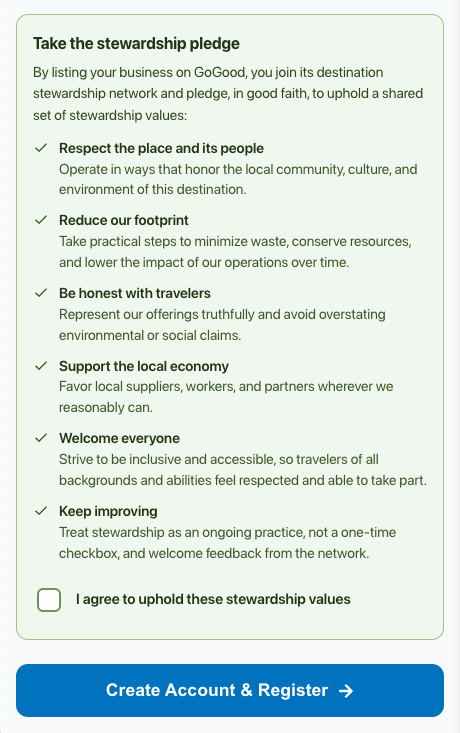
Read the six commitments, tick the box, and register. Step 4: Add your first listing from the dashboard
After registering you land on your business dashboard. Click Add New Asset to create your first listing.
You can add as many listings as you have places or experiences to offer. This is also where you add team members who should be able to edit them.
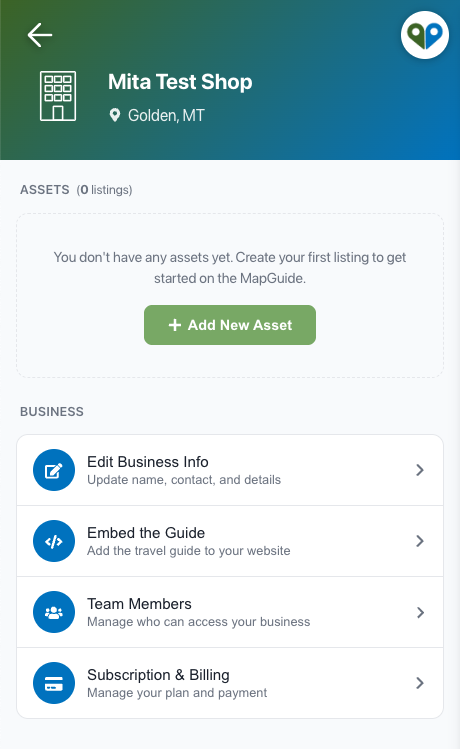
Your dashboard: listings on top, business settings underneath. Step 5: Fill in the listing details
Enter the listing name, a short tagline, the full description, categories, location, photos, website, and hours. Click the expand button it the upper right to make the form larger on desktop.
You can save a draft at any point and come back to it.
If your experience has no fixed physical location, tick Hide from map in the Location section.
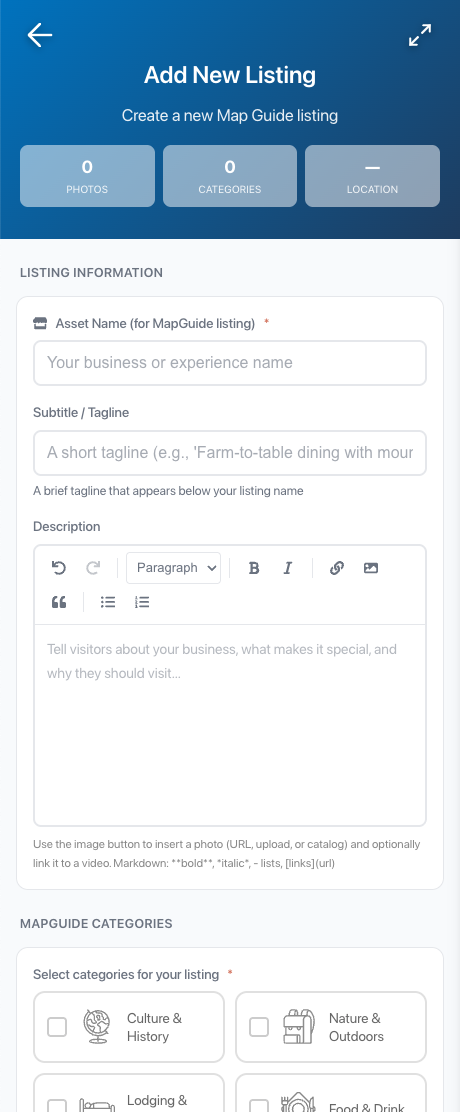
The listing form. Name and at least one category are required; everything else can follow. Step 6: Add a stewardship summary (optional)
You can add a short summary of how your experience supports natural and cultural heritage and contributes to your community. It appears on your public listing.
Skip it for now if you would rather. The same goes for the Stewardship Scan — we will follow up about both later.
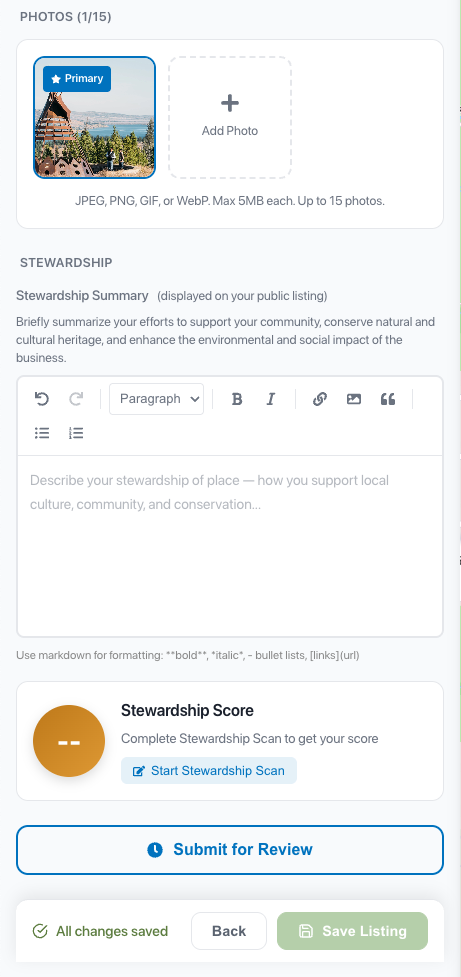
The stewardship summary and score sit above the Submit for Review button. Step 7: Submit for review
Click Submit for Review. We will read your draft and either publish it or come back to you with questions. You will get an email when it is live.